
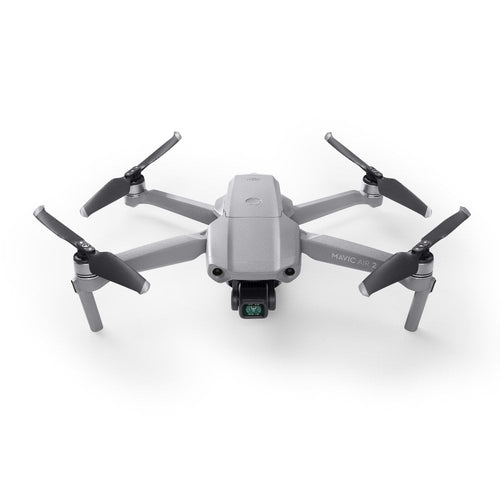
The DJI Mavic Air 2 comes with a newly designed Remote Controller that offers you additional perks.
Not only has the new sleek DJI Remote Controller increased comfort, it's also changed the way you link your mobile device.
Need some extra tips when getting to grips with the new DJI Mavic Air 2 Remote Controller?
In this tutorial, we'll teach you about the DJI Mavic Air 2 Remote Controller and get to grips with the basic features.
- Pressing Power Button

To power up the DJI Mavic Air 2 Remote Controller, click and hold the Power button situated to the right of the Flight Mode button. You will see the battery LEDs begin to flash, signalling the Remote Controller is powering up.
- Flight Mode Switch
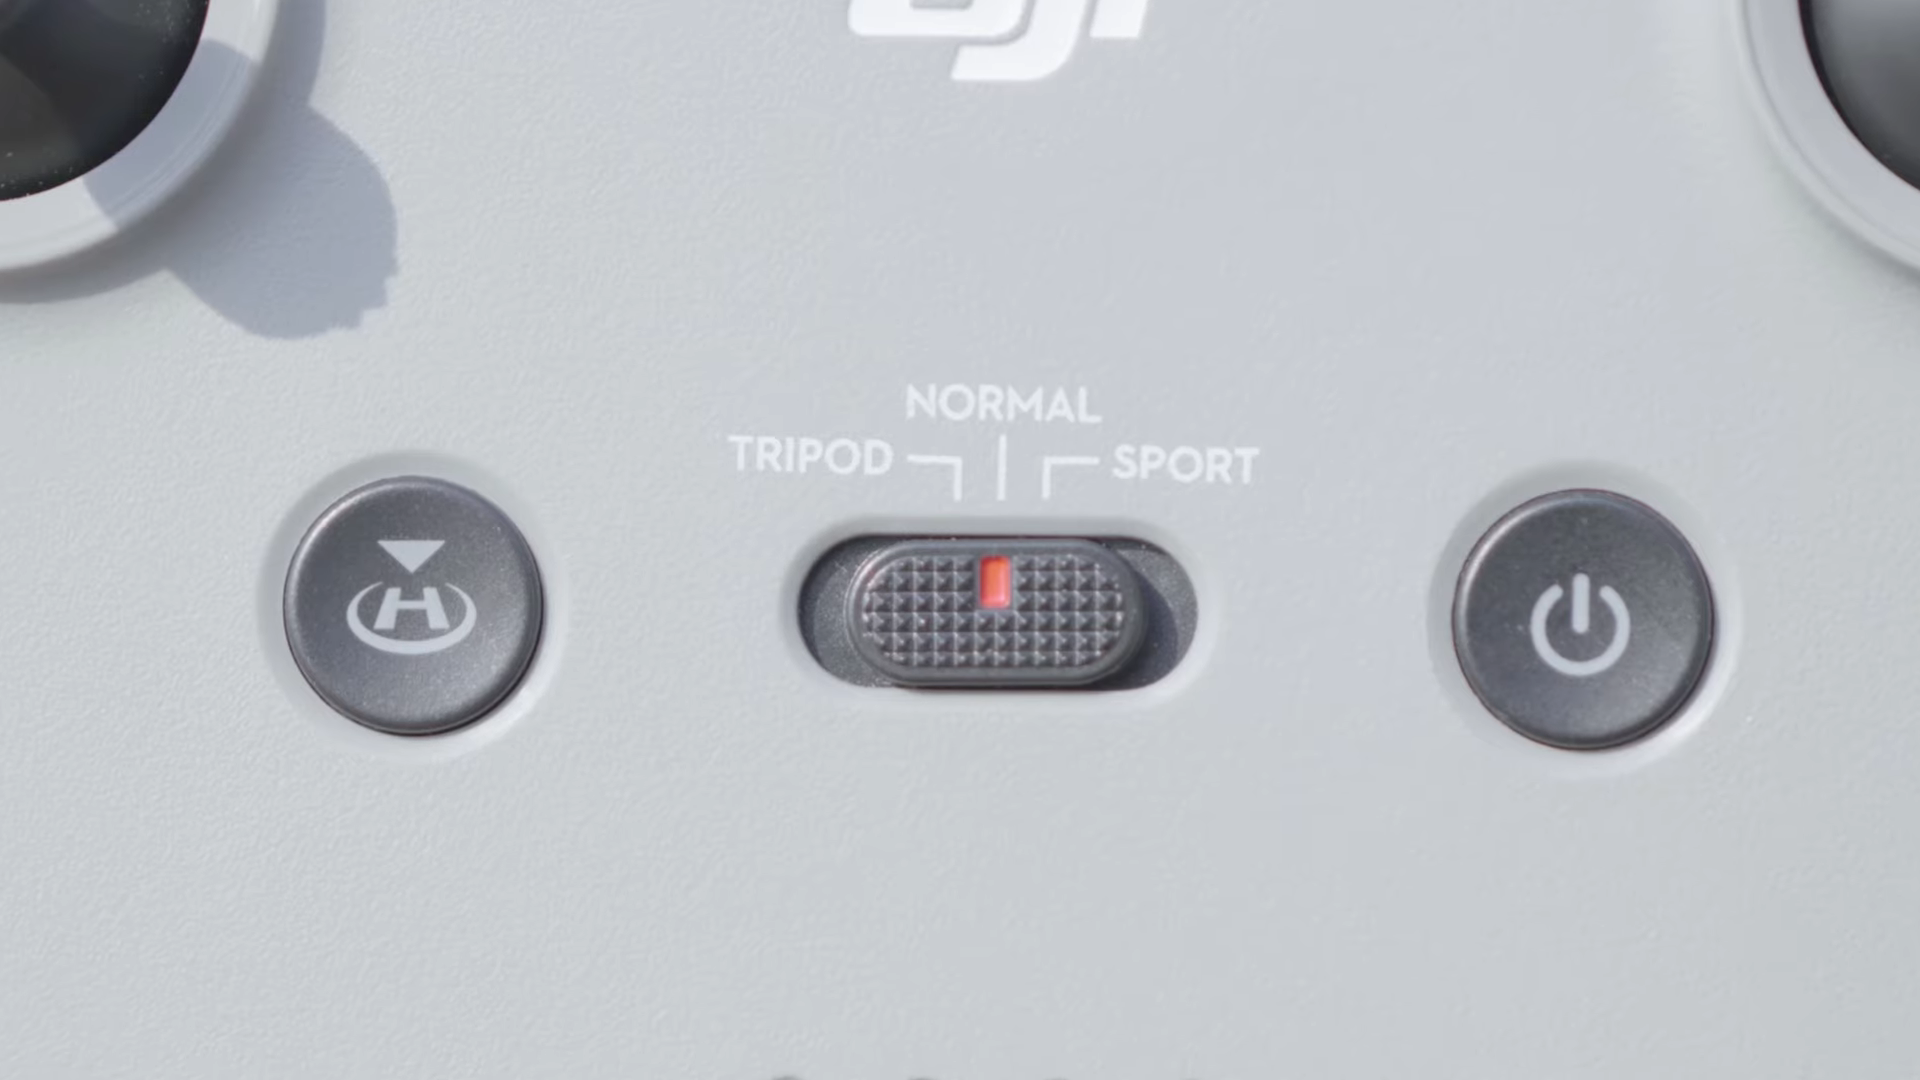
The Flight Mode switch is located in the centre of the DJI Mavic Air Remote Controller. Each mode has a specific flying characteristic:
Tripod mode reduces the overall speed of the DJI Mavic Air 2 which creates smooth cinematic flying.
Normal mode is the default flying mode in which the aircraft's sensors and speed are unaltered.
Sport mode will drastically increase the overall flight speed and movement of the DJI Mavic Air 2.
- Using RTH to Fly Home

Using RTH will command the DJI Mavic Air 2 to fly home. The RTH button can be found to the left of the Flight Mode switch. The home point is the location in which you took off. Be sure to take off in a safe and clear location when starting your flight.
- Customisable Button

That random 'Fn' button in the top left corner of the Remote Control isn't just for show. It can be customised to do a whole range of specific tasks. It's totally up to you!
To programme the Fn button, go into your Settings menu and select the Control tab.
Once there, scroll to Button Customisation. Here you have the chance to change the Fn button. Go ahead and test out the new options available to you.
- Click Video/Photo Button to Switch Modes

The video/photo Switch button can be found at the top right corner of the DJI Mavic Air 2 Remote Controller. When you click this button your DJI Mavic Air 2 will switch between video and photo mode.
- Press Shoot Record Button

The bumper button on the right index finger starts and stops capture modes. Press this button to begin a video recording or take a photo.
- Use Gimbal Dial

The gimbal dial can be found on the left index finger bumper. This dial controls the aircraft tilt, roll and pan. Get creative and start experimenting with the gimbal controls to create immersive content.
Now you've learnt the basics when it comes to the DJI Mavic Air 2 Remote Controller you can now start producing amazing content. Customise you buttons, learn new tricks and keep creating.
If you require any additional advice or guidance during your DJI Mavic Air 2 journey be sure to give us a call or email us.

Thank you. No sensible useable manual with the product. Concise and clear
This has given me a better insight of the controller, Thanks
Outstanding instructions. Thanks for putting this together.
Leave a comment