
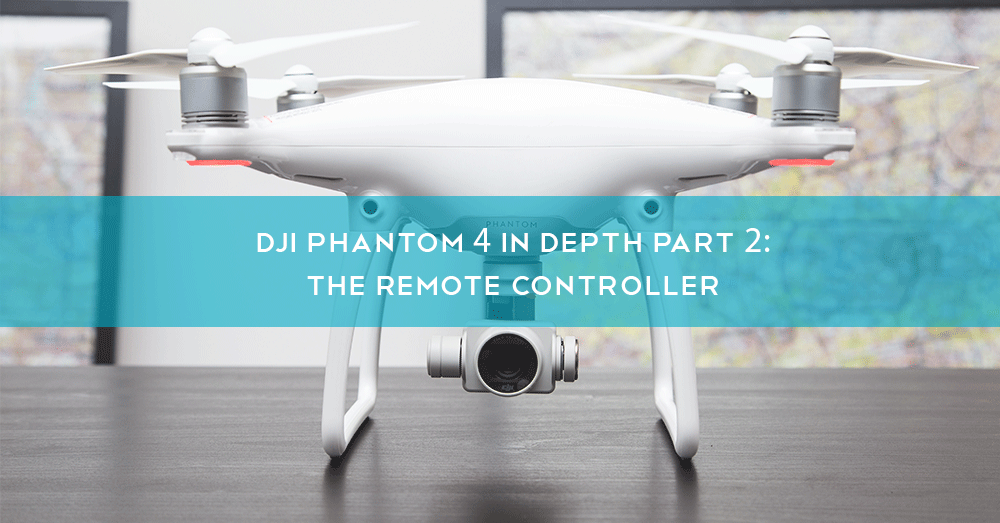
 In Part 2 of Heliguy's 'Phantom 4 In Depth' series, we're taking a look at the Phantom 4 Remote Control. Covering every step from set-up to flight, we run down the key information you need. We also asked our technicians to give their opinions and how it stacks up with DJI's other controllers.
Series Guide
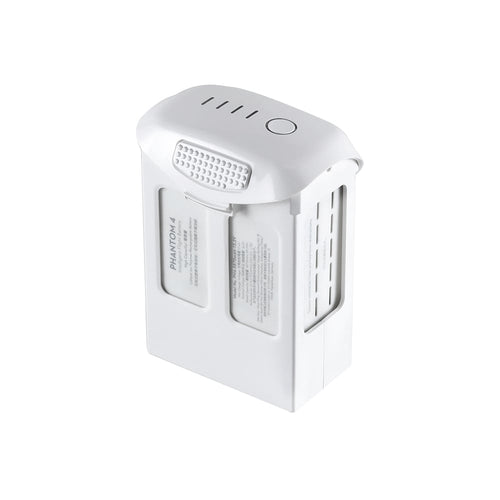
Part 1 - Phantom 4 Batteries In Depth Part 2 - Phantom 4 Remote Controller In Depth Part 3 - The Best Phantom 4 Cases and Backpacks In Depth Part 4 - The Phantom 4 Camera In Depth Part 5 - The Phantom 4 Aircraft Body In DepthThe Phantom 4 remote controller provides high-quality wireless communication, integrating a video downlink together with an intuitive aircraft remote control system. Both of these features operate at 2.4GHz. The controller also includes a range of functions which give you greater control over the Phantom 4’s camera. This includes the ability to preview your photos and videos, as well as the option to take control over the gimbal’s motion. The Phantom 4's controller runs on a 2S rechargeable battery (capacity: 6000mAH). The remaining power level is displayed through easy-to-monitor LEDs indicators which are positioned at the bottom of the remote controller’s front panel ensuring that you’re never caught out by a depleted battery.
 The controller has two available modes that dictate which stick operates the throttle. There’s also the option to access custom modes.
- Mode 1: The right stick serves as the throttle
- Mode 2: The left stick serves as the throttle
Setting up the Phantom 4 Remote
To check your power levels when the controller is in a dormant state, press the ‘Power Button’ once. The inbuilt LED indicators will display your current battery level. When you’re ready to turn on the remote controller, hold down the ‘Power Button’. The remote controller will ‘beep’ as it powers up and the status LED will flash green, indicating that the remote is linking to the aircraft. The LED will glow solid green once the linking is complete. Simply reverse the process to shut down the remote controller after use.Connecting a Compatible Mobile Device
Ensure that the mobile device holder is adjusted to the desired position and then press the release button on the side to loosen the clamp. Once this is done, you’ll be able to place your device into the cradle and secure it by retightening the clamp. The most common way to connect your mobile device to the remote controller is via a USB cable. To achieve this, attach the cable to both the mobile device and into the clearly marked USB port situated on the back of the Phantom 4 remote controller.Linking the Controller to Your Aircraft
When you purchase a Phantom 4, the remote controller will be linked to your aircraft before delivery so simply turning it on will allow you to get flying straight away. However, if for whatever reason you’re using a new remote controller, follow the steps below to link it to your aircraft.- Turn on the remote controller, connect it to your mobile device and launch the DJI GO app
- Power up the Phantom 4 Battery
- Select ‘Camera’, press the remote controller icon, then tap the ‘Linking RC’ button
- The controller is now ready to link with the Phantom 4, the status LED will flash blue and the controller will emit a tone
- Press the linking button on the side of the aircraft which will begin the synchronisation; the LED will turn solid green when the controller has been linked to the aircraft
Buttons, Switches and Features
All of the Phantom 4's features are available to access from the intuitive remote controller. Read on to find out what each of its components offers in terms of functionality.Controlling the Phantom 4
This section covers how to effectively use the controller’s thumbsticks to manoeuvre the Phantom 4. The guidelines below are based on the aircraft being in its default setting of Mode 2 (with the left stick controlling the throttle).
Left Stick
The guidelines below are based on the aircraft being in its default setting of Mode 2 (with the left stick controlling the throttle).
Left Stick
- Up & Down: This alters the aircraft’s elevation. When both sticks are centred, the Phantom 4 will hover in place. The more a stick is pushed away from the centre position, the faster the Phantom 4 will change elevation. Pilots should be careful to push the stick gently to prevent sudden and unexpected elevation changes.
- Left & Right: This controls the Phantom 4's rudder and rotation. Push the stick left to rotate the aircraft counter-clockwise and right to rotate clockwise.
- Up & Down: This changes the aircraft’s forward and backwards pitch. Push the stick further away from the centre position for a greater angle of pitch (max 30°) and faster flight
- Left & Right: This changes the aircraft’s side to side pitch. Left strafes left, right strafes right.
Flight Mode Switch
The Phantom 4’s controller gives you the option of three diverse flight modes which offer you the freedom to toggle the difficulty level, access to its feature-rich functionality and also how fast you want to fly. The purpose of each mode is described below:
- Position: Gives you the ability to fully utilise the wide range of features included in this quadcopter including ActiveTrack and TapFly.
- Attitude: A real test for drone pilots, a manual setting which gives you full control whilst switching off satellite positioning, perfect for low light situations where the positioning cameras are unable to see or indoor flying when GPS might be more limited.
- Sport: This mode is capable of taking the Phantom 4 up to 45mph, making flying even more fun. To ensure the reliability of this thrilling setting, DJI has added an integrated gimbal and moved the battery to shift the centre of gravity close to its core. Raised motors increase torque reaction and a reliable flight control system accurately controls the aircraft’s movement to make high-speed flights safer.
Return to Home
A self-explanatory feature, pressing and holding this button will activate the Return to Home (RTH) feature. The LED ring surrounding the button will flash white to indicate that the Phantom 4 is entering RTH mode. It will then return to the last recorded ‘Home Point’. Press this button again at any time during the sequence to cancel the procedure and regain full control over your Phantom.Camera Functions
Finally, we come to what many would consider the most important features when operating an aerial camera, the settings which enable you to capture spectacular stills and shake-free 4K footage.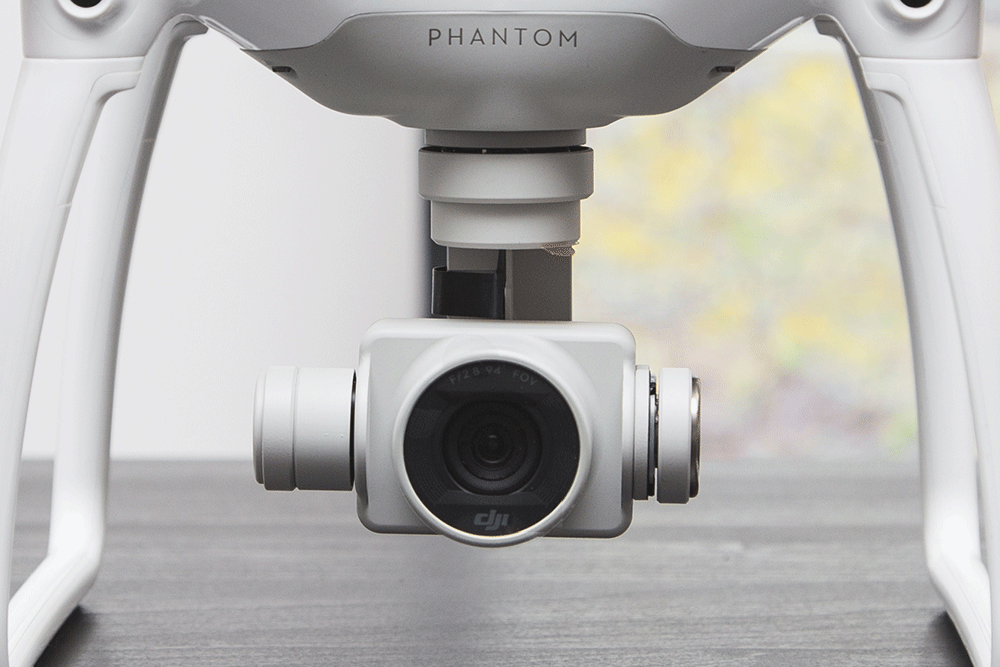 These options are available on both the top right and left-hand sides of the controller making camera control while flying an enjoyable, intuitive experience.
- Camera Settings Dial (top right): Use this dial to adjust a range of settings such as shutter speed, aperture and ISO without having to let go of the controller. Toggling between these settings is as simple as pulling down on the dial.
- Gimbal Dial (top left): The ability to control the tilt of the gimbal is a huge benefit to aerial photographers looking to capture that perfect shot.
- Video Recording Button (top left): Pure simplicity, press this button once to start recording your footage and when you’re done, press again to stop recording.
- Shutter Button (top right): Press this to capture stills and, if burst mode is activated, you’re able to choose from multiple photos taken with a single press.

Leave a comment